How to Finish a Polymer80 Frame
How to Finish a Polymer80 Frame
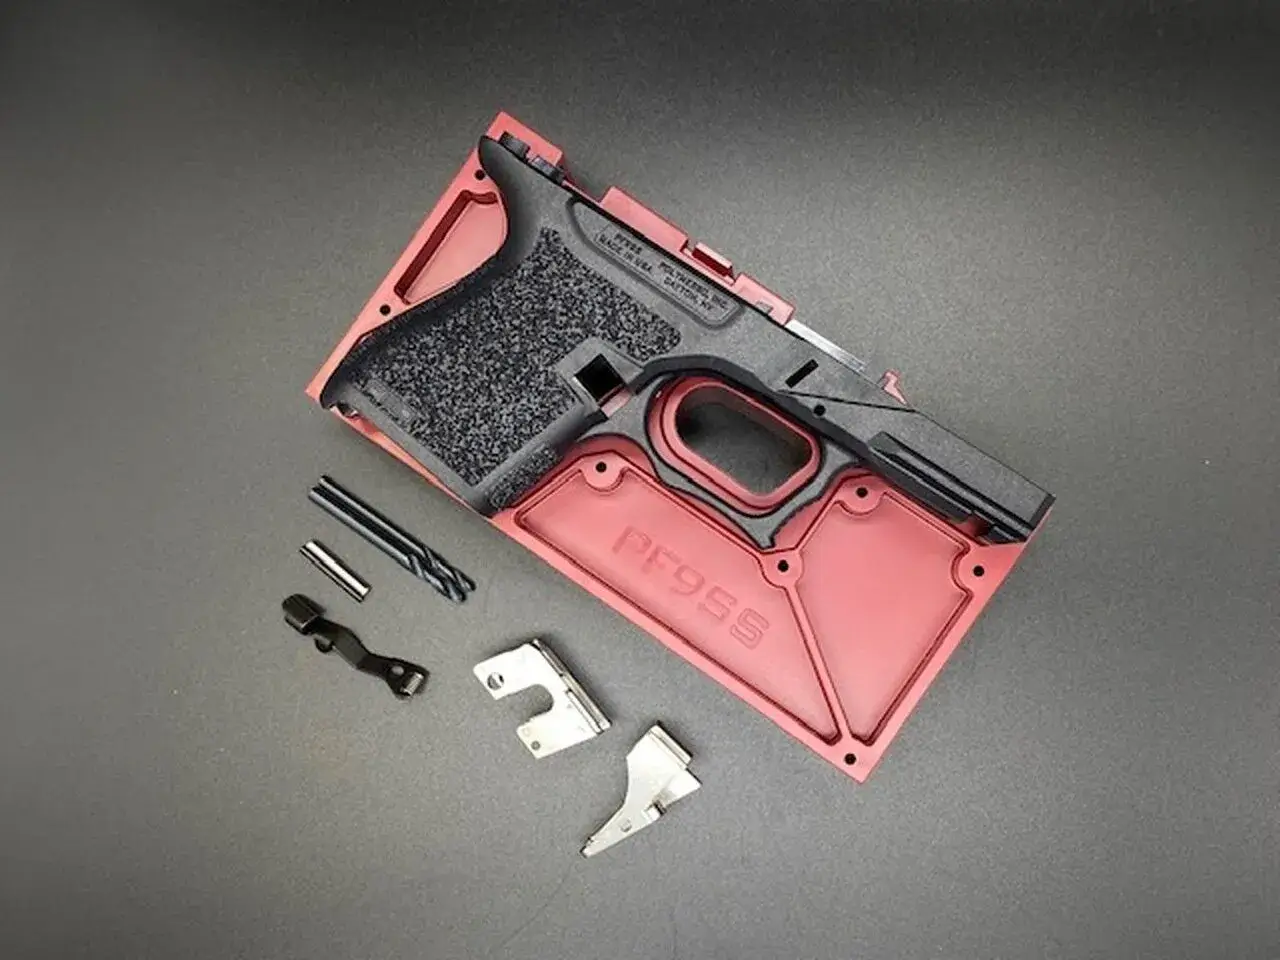
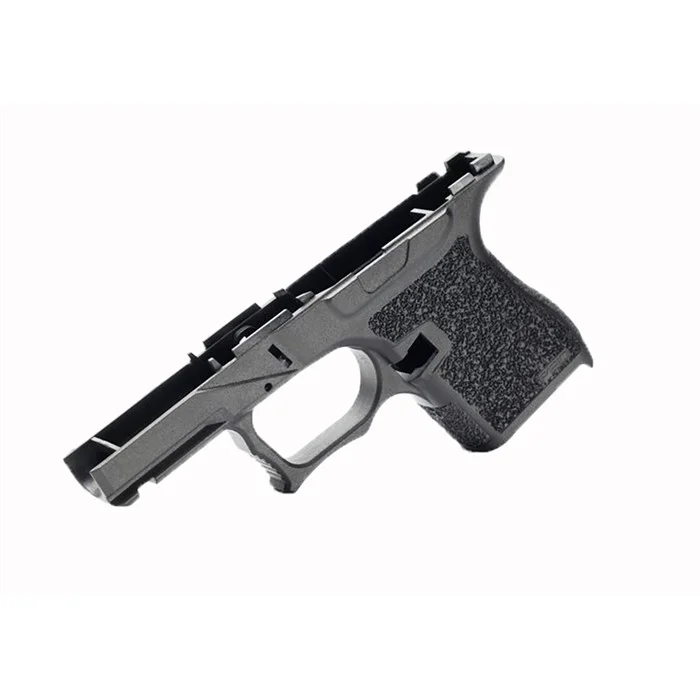
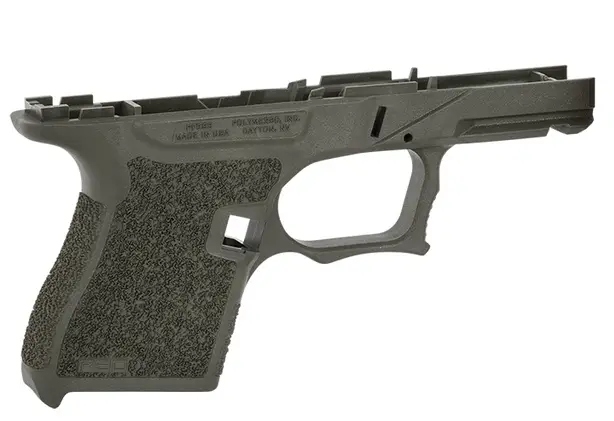
You’ve got a raw Polymer80 PF940 frame in your hands. The jig is there, the rails are included, and the blank fire control pocket stares back at you. Finishing it isn’t just about making holes; it’s a precise machining operation that determines the reliability and safety of your final build. Get it right, and you have a solid foundation. Get it sloppy, and you’ll be chasing malfunctions. Here’s the professional method.
Essential Tools for the Job
Do not attempt this with a hand drill and a Dremel. You need control. The absolute minimum is a reliable drill press or a high-torque hand drill secured in a vise. You’ll need the correct drill bits: a 3mm and a 4mm bit for the pin holes, and a 3/16″ bit for the rear rail module. A quality set of end mill bits or a dedicated Polymer80 frame finishing kit is non-negotiable for the fire control pocket. You’ll also need a small hammer, a set of punches, needle files, and a sharp utility knife. A bench vise to securely hold the jig is critical for accuracy. Using subpar tools is the number one reason for out-of-spec frames that won’t function. We stock the specific tool kits and jigs you need at Polymer80Guide to ensure you start with the right equipment.
Drilling the Pin Holes: Precision is Everything
This is the most critical step. The jig must be perfectly assembled and clamped tightly. Use the provided 3mm and 4mm drill bits. Start with the 3mm bit for the trigger, locking block, and rear rail module holes. Apply steady, moderate pressure and let the bit do the work. Clear polymer shavings frequently. Then, switch to the 4mm bit to carefully enlarge these holes to their final size. The key is keeping the drill perfectly perpendicular to the jig. Any angle will misalign your pins and cause binding. After drilling, use the needle files to remove any polymer burs from the holes. Test-fit the pins; they should slide in with firm finger pressure but not be loose.
Milling the Fire Control Pocket
With the pin holes done, remove the frame from the jig. Now, you’ll clear the polymer tabs in the fire control pocket using an end mill or the dedicated milling bit. Secure the frame itself in a vise, protecting the rails with soft jaws. The goal is to remove the polymer until the pocket walls are flush and smooth, creating a clean channel for the trigger mechanism. Take multiple shallow passes—do not try to hog it all out at once. This prevents overheating the bit and melting the polymer. Frequently test-fit your trigger housing and slide lock spring to check for clearance. A common mistake is not milling deep enough, which prevents the rear rail module from seating fully.
Installing the Rails and Final Fitting
Your frame’s integrity depends on the rail system. Start with the front locking block. It should press into the frame’s channel. The rear rail module is often the trickiest part. It must drop into its seat in the fire control pocket without force. If it doesn’t sit flush, do not hammer it. Identify the high spots—usually on the module’s legs—and carefully file or sand them until it drops in. Once seated, the pin holes must align perfectly. Insert the pins. With rails installed, perform a function check with your slide (without a barrel or recoil spring). It should cycle smoothly with zero binding. Any grit or hang-up means your rails are not parallel or your pin holes are off.
Final Steps and Function Testing
Before your first range trip, a complete safety check is mandatory. Install all components—lower parts kit, slide, barrel, recoil spring. Perform a full safety function check: verify trigger reset, slide lock engagement, and safety mechanisms. The final aesthetic step is smoothing all the machined areas. Use 400-grit sandpaper, then 1000-grit, to blend the milled pocket and drill holes into the frame for a factory-like finish. A drop of oil on the rails and in the fire control pocket is all you need. Remember, a properly finished P80 frame, like the PF940C or PF940SC, should have the same fit and reliability as any OEM frame. For all the specific jigs, tools, and frames mentioned, Polymer80Guide is your source.
FAQ
How to finish a polymer 80 frame?
Finishing a Polymer80 frame involves precise drilling of pin holes using the supplied jig and specific drill bits (3mm and 4mm), followed by milling the fire control pocket tabs flush with an end mill. The final step is installing and fitting the metal rail modules to ensure perfect alignment for the slide. It’s a machining process requiring a drill press, vise, and patience.
How to complete polymer 80 frame?
Completing a Polymer80 frame refers to the “80%” finishing work above, plus assembling it with a lower parts kit, slide, barrel, and recoil spring assembly. After milling, you install the trigger, pins, rails, and all other components. A full safety and function check with the complete upper is mandatory before firing.
What is a polymer 80 frame?
A Polymer80 frame is an unfinished firearm receiver, often sold at 80% completion, made from reinforced polymer. It requires the end user to drill pin holes and mill the fire control pocket to finish it. Popular models like the PF940C (Glock 19 size) or PF940V2 (Glock 17 size) provide a customizable platform for building a pistol without requiring an FFL transfer in most states.
Browse our polymer80 frames collection
Last updated: April 05, 2026